After much debate (for myself - the boys could have cared less) about themes, I decided on a bug theme. I used my Cricut to make bugs to top the cupcakes.
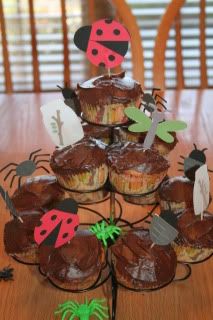
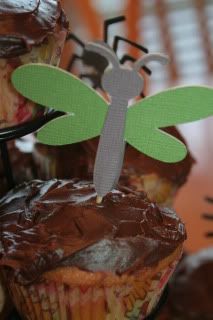
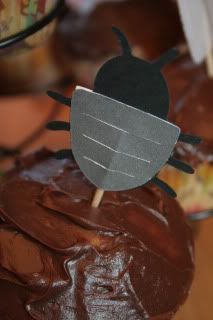
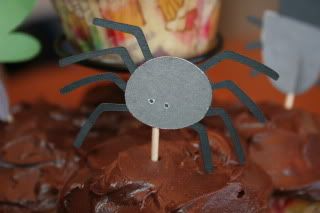
I cut out each shape with the blackout design. Then for each bug, I cut out the detail for both sides and ran them through my Xyron. Between one of the designs and the blackout design, I placed a toothpick. When I placed them on the cupcakes, I placed the toothpick side on the back, but because the design was on both sides, you couldn't see the toothpick, just the pump it made in the paper.
But I think these were my favorite! A bug jar.
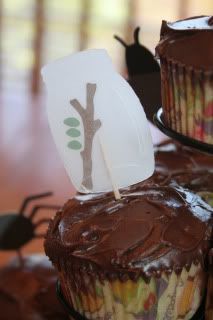 On these, I cut out two jars out of vellum for each of the toppers. Then I cut out only one design. I ran all of the jars through the Xyron. On one each, I placed the little stick and leaves. Then I placed the second jar on top, sandwiching the toothpick between the two jars. These shapes were all on the Doodlebug Cartridge (a really good one to have!).
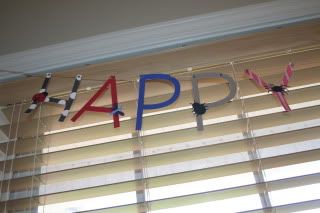
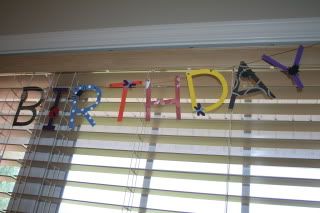
The night before the party, I made up this banner quickly. I cut the letters mostly out of scrap paper, each letter in a different color/pattern. I used yellow twine to string the letters together. To do that, I used small brads, opening them and placing the twine between the brad, inserted them in the paper and then secured them on the back. Some of the letters had to be strung all the way across, others like the B, D, R, etc I cut the twine and attached on each side.
To finish it off, I made the same bugs that I used on the cupcakes and using my Xyron attached them to the letters. For finishing it at 1 a.m. the night before the party, I was happy with the way it turned out. And because I used the removable Xyron adhesive, I can just remove them and use the banner again with something else. For the left over bugs and cupcake toppers - I saved those to use on their scrapbook pages! Embellishments already made, yea!
 I made the boys matching birthday shirts
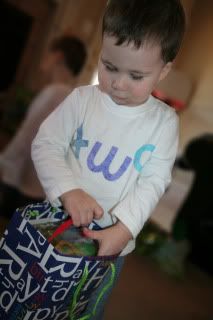
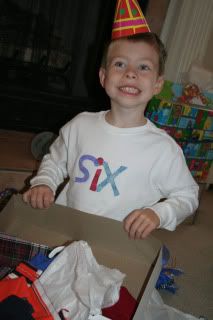
I'm putting together another post about all of the t-shirts I've been making, so check back!

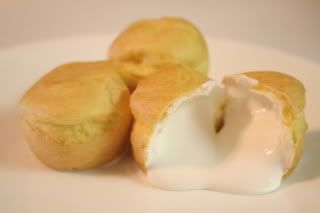 This is a Pampered Chef recipe that looks hard, but is VERY easy! I've made them several times and guest are always shocked that I made them. Often I drizzle them with chocolate, but didn't for this batch.
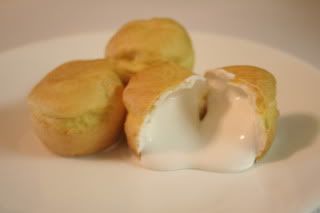 For our halloween party tomorrow night, I thought I might use orange food coloring to tent the filling and green icing to drizzle over the puffs - mini pumpkins?

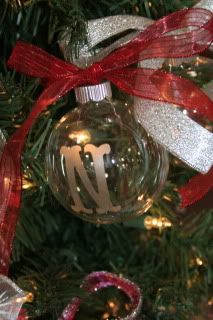
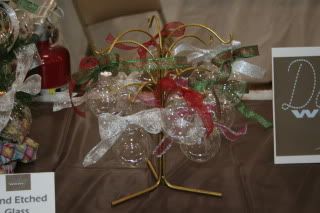
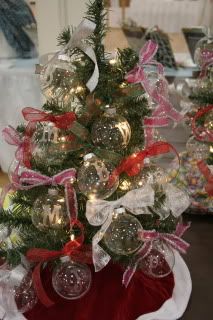
 Monogrammed Christmas Ornaments
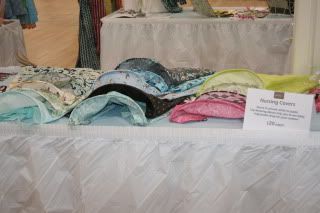
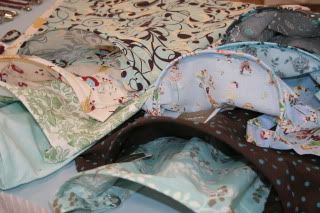
 Nursing Covers
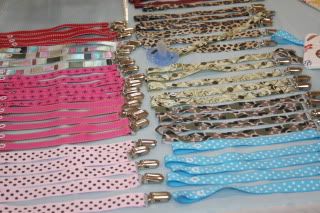 Handmade necklaces
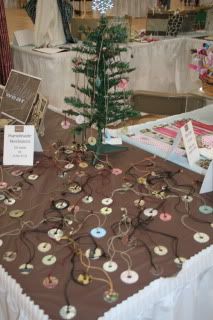
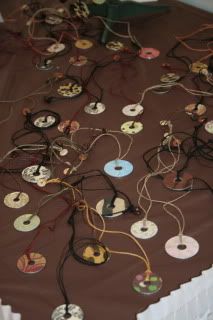
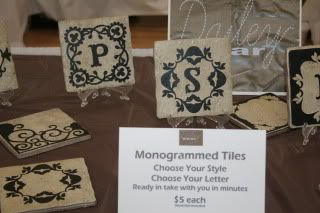
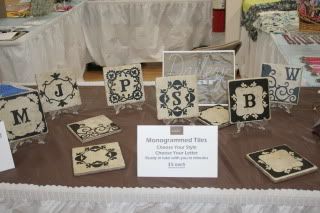
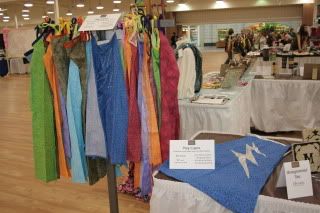
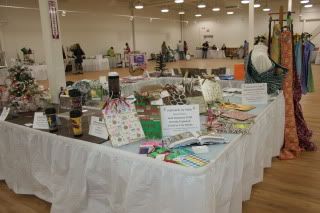
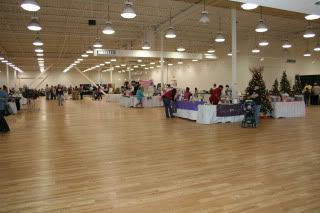
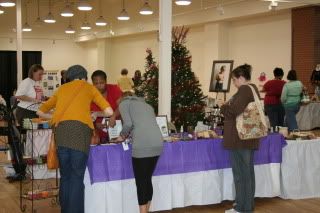
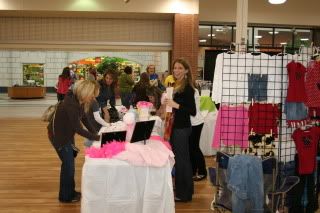
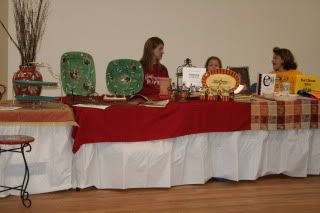
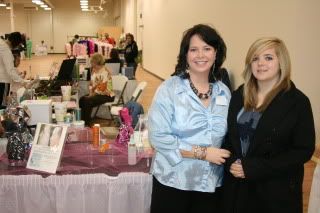
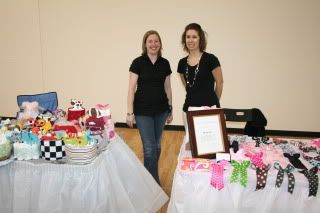
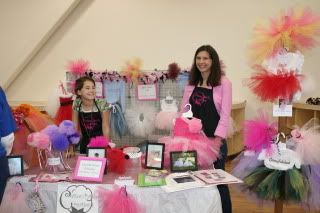
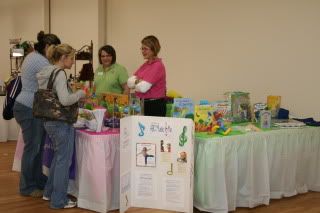
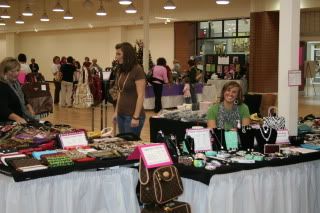
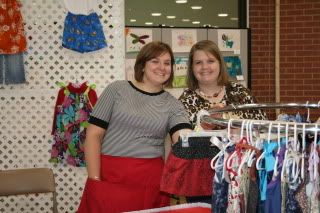
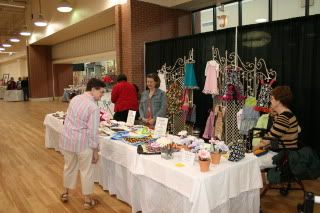
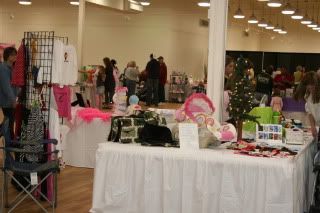
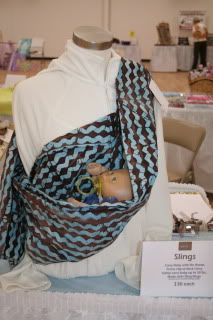
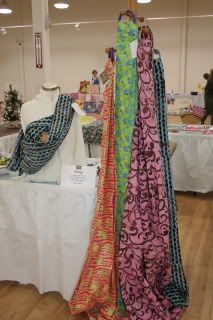
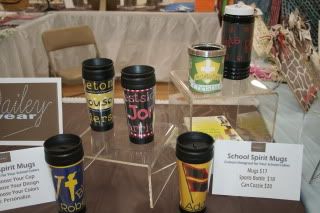
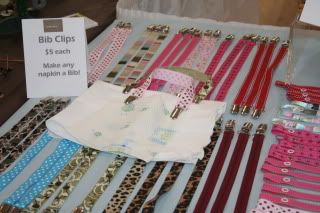
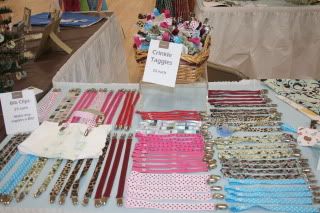
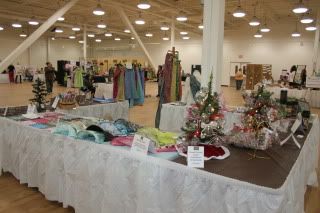 Here are a few pics from around the show. The space doesn't look very full, but it was a HUGE space. So it was very spaced out which was good because it gave everyone lots of room to walk and customers plenty of room for all of the strollers.