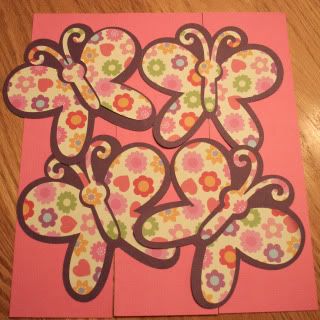
Tyler goes to a Mother's Day Out Program and only has 6 in his class, so I wanted to make something cute, but easy. I used my Cricut to make these butterflies.
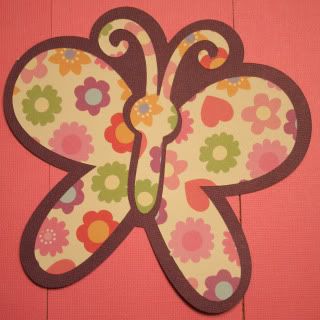 The cut is off the "Simply Sweet" cartridge using the butterfly cut in floral paper and the Shadow option for the background on purple card stock. The card stock was needed to make them sturdy enough to hold the sucker. I ran the butterflies through my Xyron and stuck them on the card stock.
 I then made 2 small cuts in the center with a straight blade and stuck a Dum-Dum through them. On the back I just wrote "From: Tyler" Very easy, but I thought they looked cute.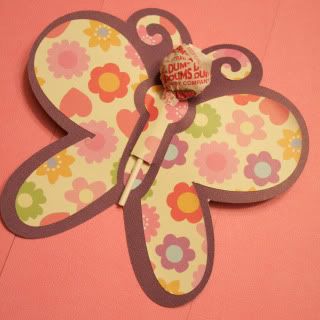

For Samuel's class, I wanted to also make something easy, but still cute. I used the two flower shapes on my George and Basic Shapes Cartridge - both on shadow so the hole would not be cut in the flower. For these Blow Pops, I used a 3" size for the flowers and leaves. (The sample I made was with a Dum-Dum and I made those with 2.5" shapes.) For the top flower, I used printed paper and then folded them up toward the sucker. For the bottom leave, I used matching card stock and left them flat.
 For the leaf, I used the acorn cut on the Doodlebug cartridge, but just tossed the remaining pieces. My son wrote "From: Samuel" on the back of the leaf and I wrote his classmates names on the front.
 The girls flowers were 1 or 4 printed pink papers with matching pink card stock. The boys were a two-tone green with purple card stock.
  To push the sucker through the center, I made a small whole with a sharp pointed tool and then pushed the sucker through the hole. I then used a small piece of scrapbook adhesive to adhere the leaf to the bottom petal.
 As a special flower for his teacher, I used the left over card stock and one of the printed papers to make a larger flower for her. (We also gave her a small gift, but I thought this was cute.
 I then placed tissue paper in the bottom of a small blue (his school color) tote pail and arranged the flowers in the pail.
 Although he's a boy and this may seem a little girly, my son was very excited to hand out his flowers. Valentines is the one day a year a mom of two boys can get away with making something a little sweet.

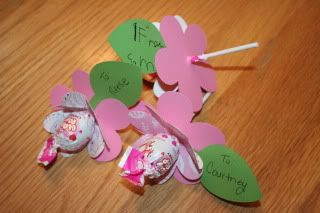 For the top flower, I used printed paper and then folded them up toward the sucker. For the bottom leave, I used matching card stock and left them flat.For the leaf, I used the acorn cut on the Doodlebug cartridge, but just tossed the remaining pieces. My son wrote "From: Samuel" on the back of the leaf and I wrote his classmates names on the front.The girls flowers were 1 or 4 printed pink papers with matching pink card stock. The boys were a two-tone green with purple card stock. To push the sucker through the center, I made a small whole with a sharp pointed tool and then pushed the sucker through the hole. I then used a small piece of scrapbook adhesive to adhere the leaf to the bottom petal.
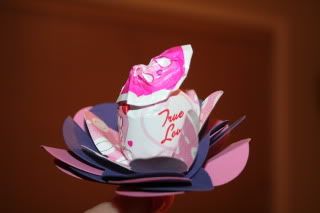 As a special flower for his teacher, I used the left over card stock and one of the printed papers to make a larger flower for her. (We also gave her a small gift, but I thought this was cute.I then placed tissue paper in the bottom of a small blue (his school color) tote pail and arranged the flowers in the pail.Although he's a boy and this may seem a little girly, my son was very excited to hand out his flowers. Valentines is the one day a year a mom of two boys can get away with making something a little sweet.
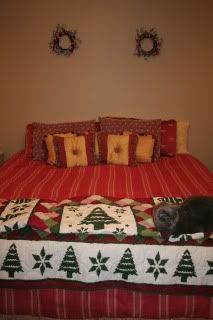
 Then I found these wreaths at Hobby Lobby. They are actually candle rings, but I thought they would be pretty hanging above our bed. I found some red and gold ribbon to tie in to the bedding.
  They look tiny in the picture, but they make a bigger impact in person. I'm working on a new painting to go behind my bed, so next year these will find a new home, maybe hanging in the windows on each side of our bed.


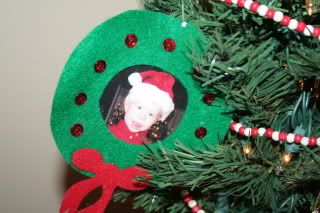
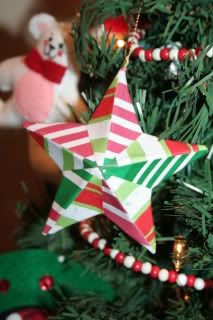
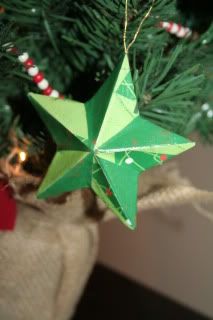
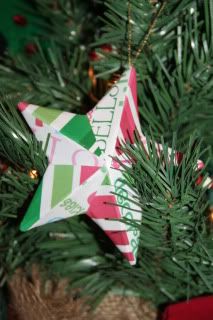
 Another friend of my mom's has made me several ornaments like this and my mom has nearly enough to do an entire tree. They are beautiful!


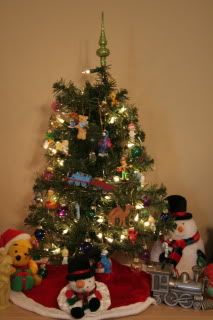


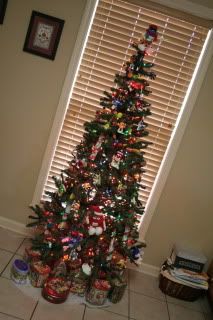

 On the counter next to the tree, I have our M&M advent counter and ceramic M&M house. It is actually a Christmas village piece and lights up.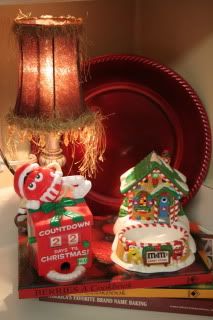


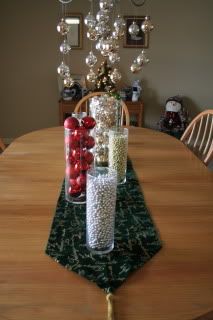
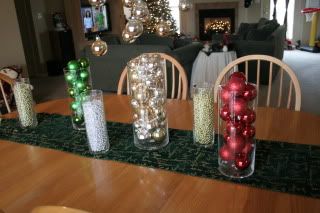
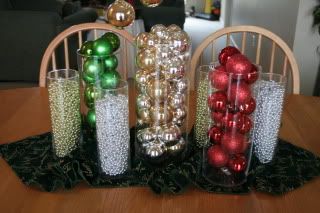
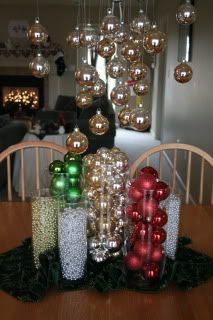
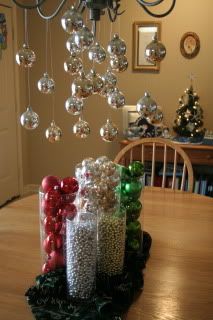
 What I like best about the centerpiece is how easily I can change the look. When we have company over, I can easily stretch it out along the length of the table. But for everyday, I simple push it toward the center of the table so that we can use the table space.