Showing posts with label Crafts. Show all posts

Sunday, June 27, 2010

New Nightlight

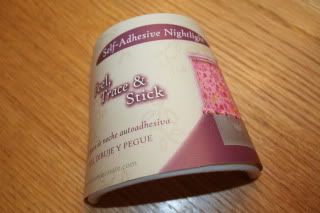
First of all - anyone who says boys can't have cute things are just wrong! You have to be more creative, but boys can have cute things too! My youngest needed a nightlight and after looking around a bit, I came across this a Hobby Lobby. So I decided to make my own.

I took him to the scrapbook paper and let him pickout a sheet that he liked. He's two, so I actually picked 2 or 3 and then let him select from those. I then picked a solid sheet that coordinated.The pull away sheet on the nightlight shade can be used as a pattern. I traced it onto a sheet of scrapbook paper and cut it out.
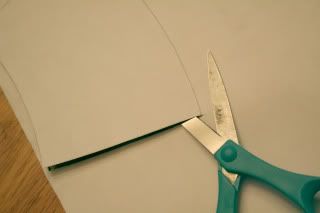
The shade is self-adhesive, so I just stuck the paper right to it.
Next a cut out his initial with my Cricut on the matching solid sheet. I decopaged it on and coated the entire sheet of paper in decopage to help bond it further to the shade.

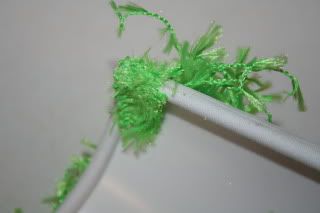
Then I glued on this fabric trim all along the top and bottom...
wrapping it around to the back and securing it with glue to the back of the frame. I then cut away all excess hanging fibers from the trim so that none would be touching the lightbulb.
And this is my finished product - with the lights on.
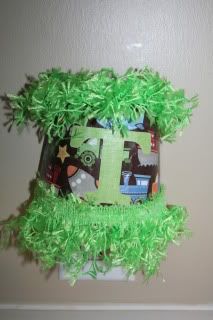
And with the lights off. He loves his new nightlight and he loves that he picked out the planes, trains and automobile paper too.
Obviously you could also do this with fabric and monogram the fabric, but I don't have a monogram machine - and scrapbooking is more my thing, so I decided to go that route. It was also very quick. From start to finish it took less than an hour and then just time to dry. It was ready to go into his room that night.

Join Between Naps on the Porch for more Metamorphasis Monday!

Sunday, February 14, 2010

Happy Valentines Day!

Hope you had a lovely Valentine's Day. I thought I would show the Valentines I made for my boy's friends at school.

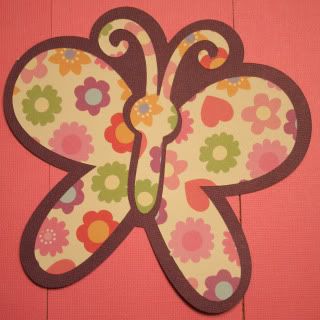
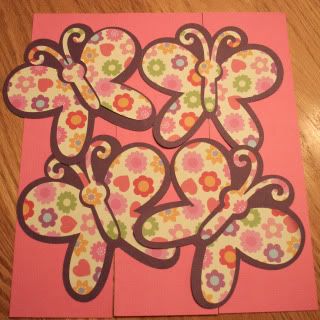
Tyler goes to a Mother's Day Out Program and only has 6 in his class, so I wanted to make something cute, but easy. I used my Cricut to make these butterflies.
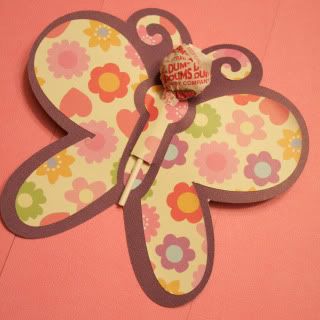
The cut is off the "Simply Sweet" cartridge using the butterfly cut in floral paper and the Shadow option for the background on purple card stock. The card stock was needed to make them sturdy enough to hold the sucker. I ran the butterflies through my Xyron and stuck them on the card stock.
I then made 2 small cuts in the center with a straight blade and stuck a Dum-Dum through them. On the back I just wrote "From: Tyler" Very easy, but I thought they looked cute.


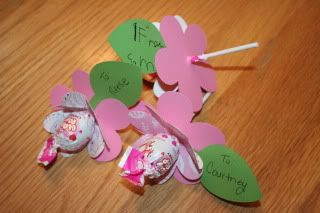
For Samuel's class, I wanted to also make something easy, but still cute. I used the two flower shapes on my George and Basic Shapes Cartridge - both on shadow so the hole would not be cut in the flower. For these Blow Pops, I used a 3" size for the flowers and leaves. (The sample I made was with a Dum-Dum and I made those with 2.5" shapes.) For the top flower, I used printed paper and then folded them up toward the sucker. For the bottom leave, I used matching card stock and left them flat.
For the leaf, I used the acorn cut on the Doodlebug cartridge, but just tossed the remaining pieces. My son wrote "From: Samuel" on the back of the leaf and I wrote his classmates names on the front.
The girls flowers were 1 or 4 printed pink papers with matching pink card stock. The boys were a two-tone green with purple card stock. To push the sucker through the center, I made a small whole with a sharp pointed tool and then pushed the sucker through the hole. I then used a small piece of scrapbook adhesive to adhere the leaf to the bottom petal.
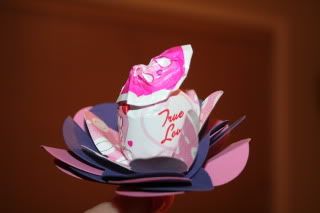
As a special flower for his teacher, I used the left over card stock and one of the printed papers to make a larger flower for her. (We also gave her a small gift, but I thought this was cute.
I then placed tissue paper in the bottom of a small blue (his school color) tote pail and arranged the flowers in the pail.
Although he's a boy and this may seem a little girly, my son was very excited to hand out his flowers. Valentines is the one day a year a mom of two boys can get away with making something a little sweet.
Wednesday, December 9, 2009

Christmas Crafty Decor

I am finally getting some of my Christmas Crafts posted! These are all things I've done in the past. I have some things I'm working on now that I'll post soon, but I wanted to share some of my past ideas.

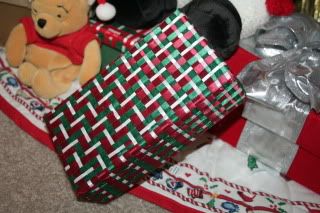
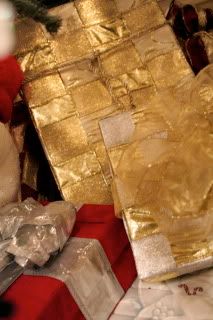
Several years ago, I made about a dozen ribbon boxes to go under my Christmas tree. I hate an empty Christmas tree, both before and after Christmas. It's depressing to me. LOL So back when I had lots of extra time (aka before kids), I made several of these that I use each year. Sometimes we do actually put gifts in them, but I also hide things in them like our Santa hats, so I know where they are but they aren't sitting out.
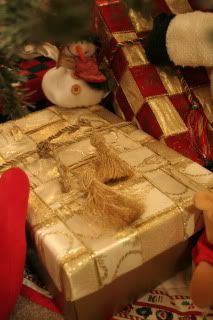
I used different types and shapes of boxes. My favorites are the ones that are already pretty, like this one below that was gold on the bottom. So I used gold ribbon on the top of the box.
I glued the ribbon with a hot glue gun along one short and one long side. I then basically braded the ribbon together, overlaping it as I went along. Then secured it on each side. I topped them off with matching ribbon bows or with tassles.
For small boxes, I used the boxes my checkbooks come in. I use tiny ribbon. It takes a while, but I think they are pretty.
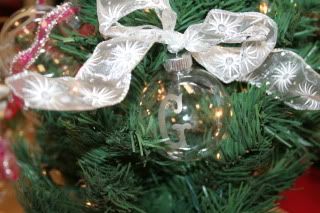
As part of my craft show items this year, I made these hand etched ornaments. I used my Cricut to cut the letters in vinyl and adhired the negative to the ornament. I then used Armor Etching Cream to etch the glass. Add a ribbon and it makes a very simple, but pretty ornament. I've sold several, but plan to also give them as gifts this year to teachers, friends and others.
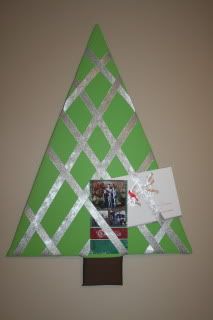
A few years ago, I made this Christmas card holder. I used foam board and cut out the shape of the tree. I stapled on a couple layers of quilt batting. I then wrapped brown material on the bottom for the trunk and stapled it along the back. For the tree, I first stapled along the bottom on the underneath and then pulled it up and wrapped it around the tree and stapled along the back. To finish it off, I crisscrossed silver ribbon and stapled it across on the back. As the cards come in, I just slide them under the ribbon.
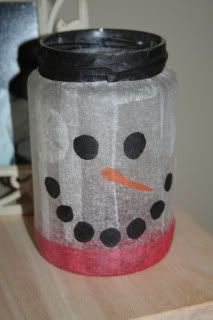
The majority of my Christmas decor is snowmen. After making a similar jar for halloween with a Jack-O-Lantern, I thought I would try a snowman. I used white tissue paper and decoupaged it onto an empty dill pickle jar. I then used different colors to create the design. I use it as a candle holder and it's pretty when the candle glows through it at night.
And last (but not least - ha!) I got this idea out of a magazine a few years ago.
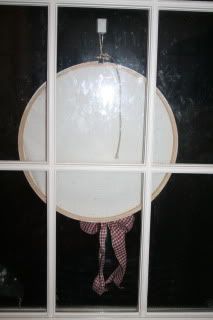
I used a quilting/crouchet hoop as the frame. I painted it white and then stretched white fabric around the hoop. I then trimmed the fabric around the frame. I glued on button, a pipe cleaner twisted into a little carrot nose and a black hat found in the doll section with a little pick spray attached. Here is a shot of the back.
This year I hung it on my door going into the garage.

To see more great Christmas Crafts, check out the Monthly Craft Challange over at Blue Eyed Blessings!
Check back over the next couple days, I'll be posting all of my Christmas decorating throughout my home and I'll be hosting a giveaway at the end of the week.

Tuesday, November 3, 2009

Blog Crazy and Halloween Treats!!

I have been blogging like crazy the last couple days, both here and on my family site. The fall is always busy for us, so I've been trying to get it all blogged at once! If you haven't been here in a couple days - keep reading...it's all new!!

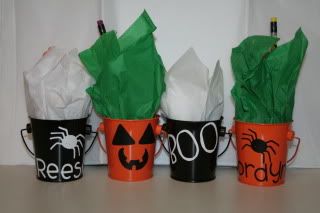
I had to show the Halloween treat buckets I made for Samuel's class.
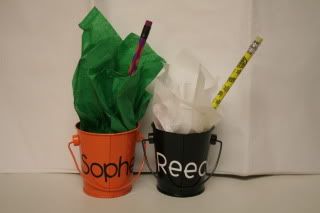
I found the little buckets in the Target dollar spot, 2 in a package. I cut the spider shapes in black and white vinyl, black pumpkin faces, BOO in white vinyl and then each of their names. I then added tissue paper and inside was tucked candy, plastic bugs and a halloween pencil.
Where the name was placed was based on what design was on each one and how long their name was. Some I was able to put on front and others I put the name on the back.
If you have a Cricut and are wondering about the Pumpkin face, I just cut triangles for the eyes and then a moon or crescent shape for the mouth. I then hand cut little notches for the teeth.

Wacky Sacks

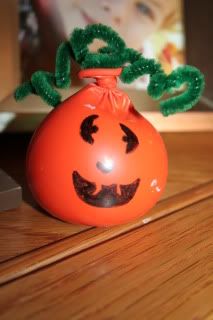
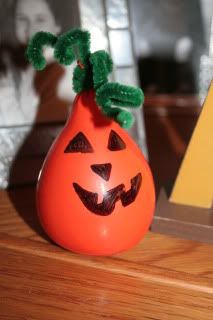
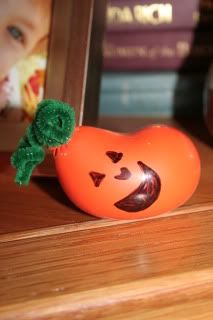
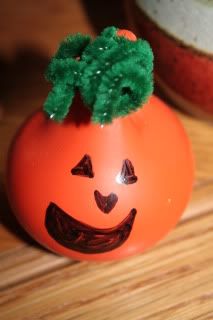
Using an idea from Somewhat Simple, I made this simple little craft with the boys on Friday night. I had some orange balloons and when I saw her tutorial, I thought the orange balloons would make a quick Halloween craft.
I pulled open the top of the balloon as much as I could while Samuel stuffed the balloon with play dough. I used 1 can of play dough in each balloon.
Then we topped off the balloon with green pipe cleaners and drew on faces with permanent marker. However, we found that the marker easily rubbed off. I didn't really find a solution to this problem but the boys love playing with them.
You may remember doing something similar with corn starch when you were a kid, but the advantage to this is that you don't have a big mess to clean up when the balloon gets a whole. Simply take the play dough out and place in another balloon.
When they kids are done with them, cut them open and the play dough is still fresh and ready to play with.

Monday, July 6, 2009

Pressed flower with Monogram

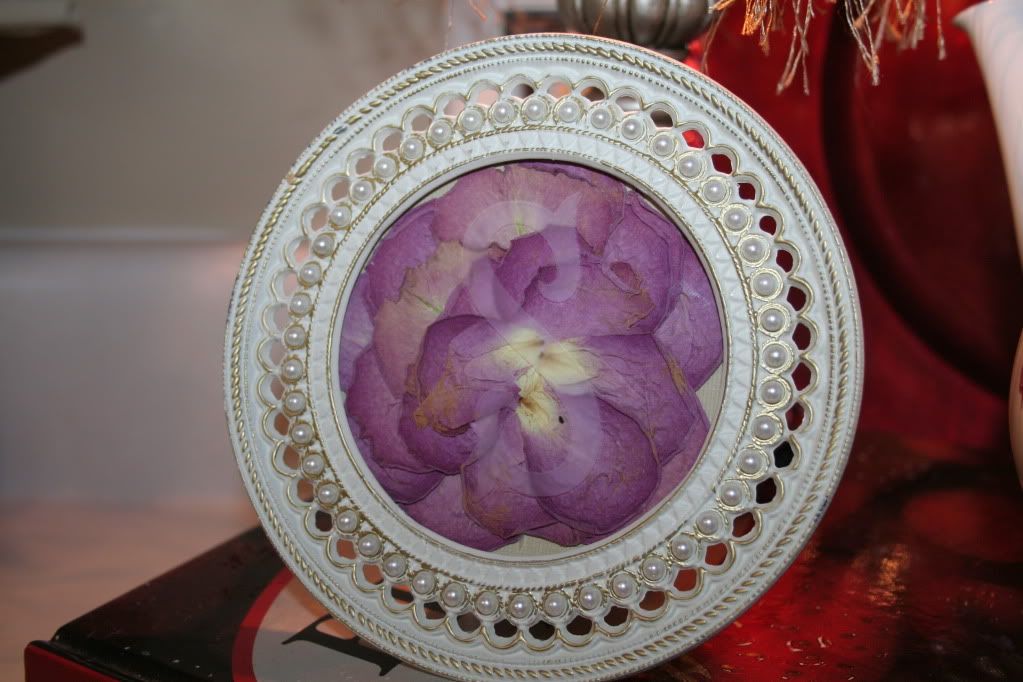
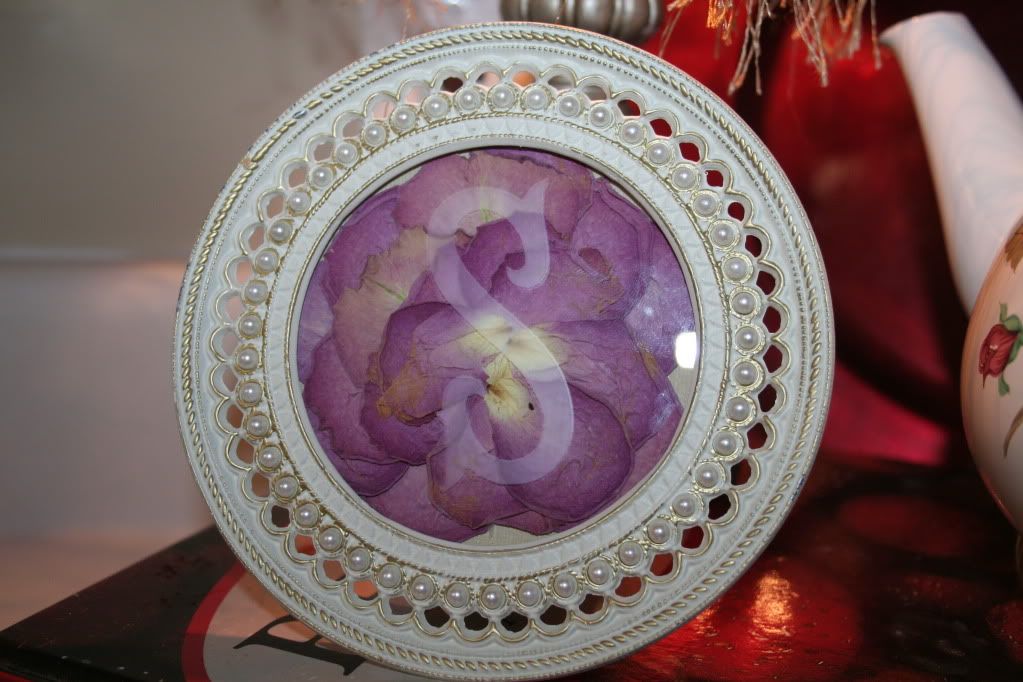
After the funeral of my husband's 34-year-old cousin, I took a rose from the spray sent by all of the cousins. I didn't know at the time what I would do with it, but I knew I wanted to do something for his aunt and uncle. I decided to try pressing the flower into a frame. Here are the instructions for how I did it and how it turned out.

I first let the rose dry about 3 weeks hanging upside down. You want to do this project with the petals are no longer wet, but still soft enough to work with. The humidity in your home will certainly affect this process.

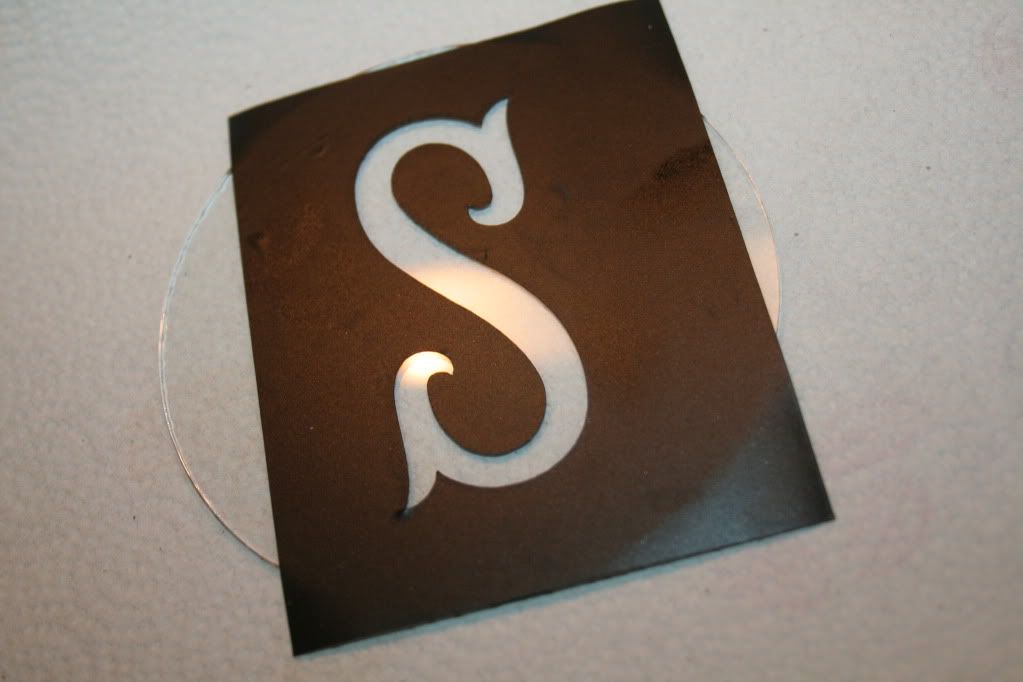
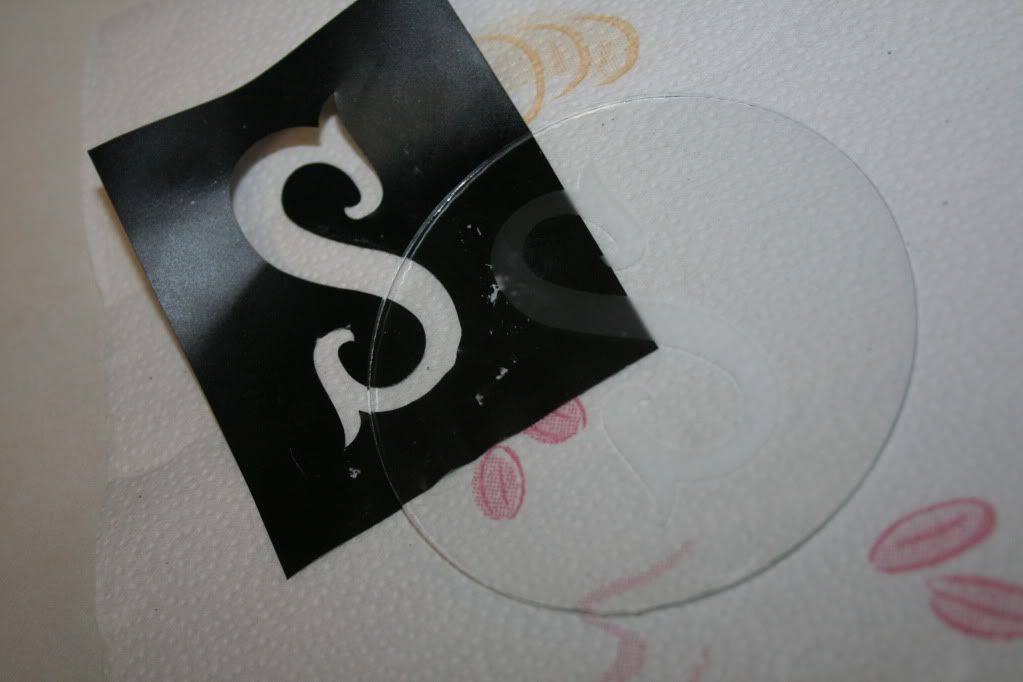
I started with cutting her initial in vinyl adhesive on my Cricut. I used the Storybook cartridge and cut a 2 1/2" letter. Adhere the negative vinyl to the glass so that you will be etching the letter onto it.
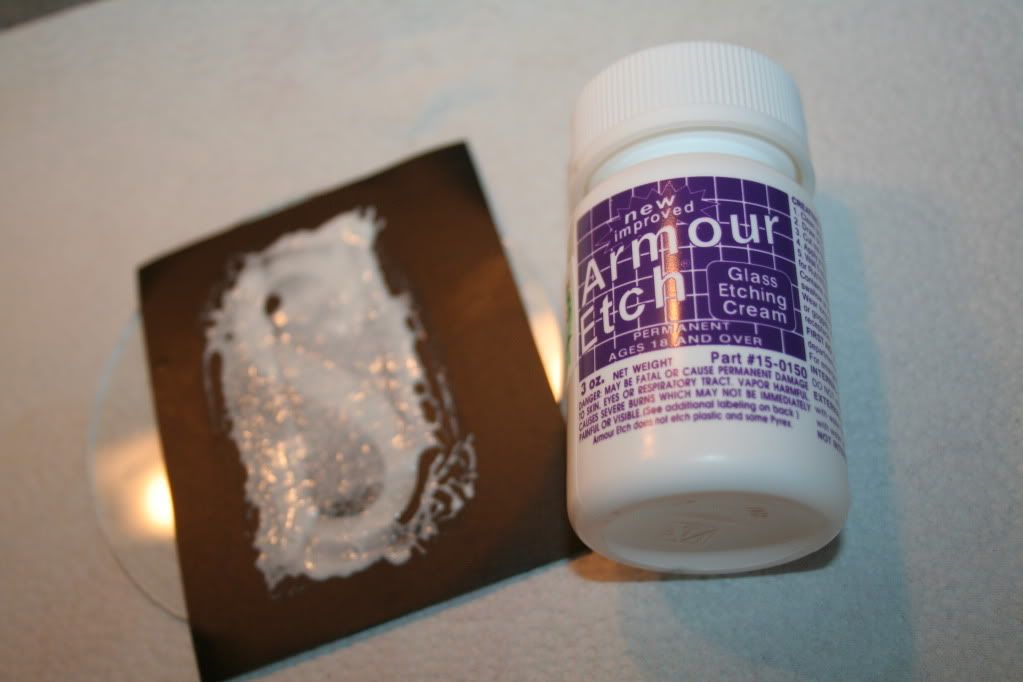
I used Armour Etch and followed the directions on the bottle.
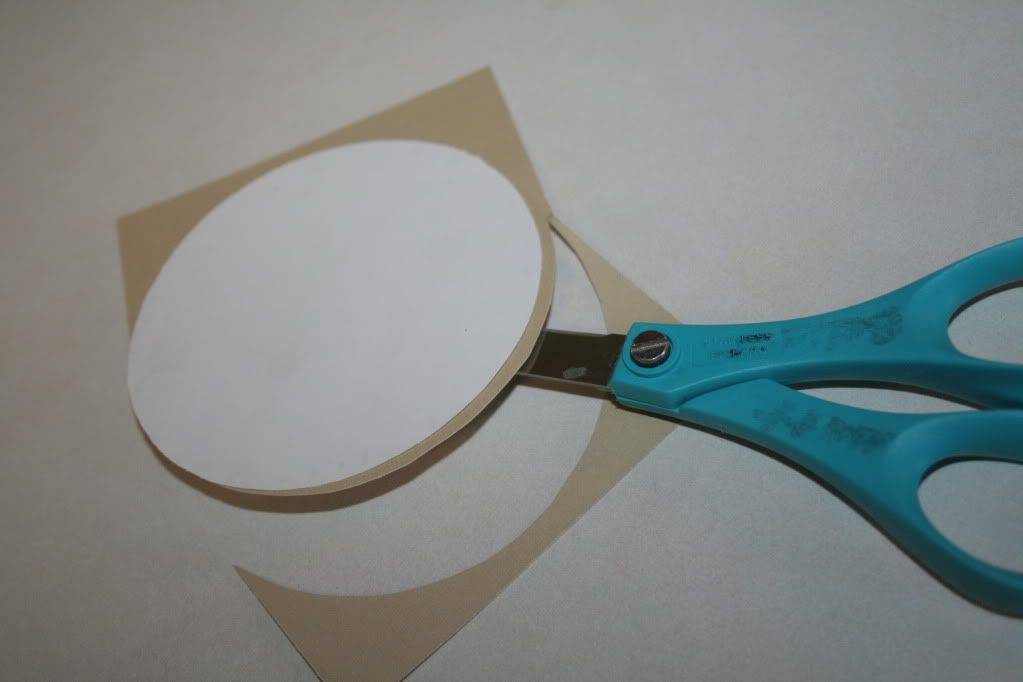
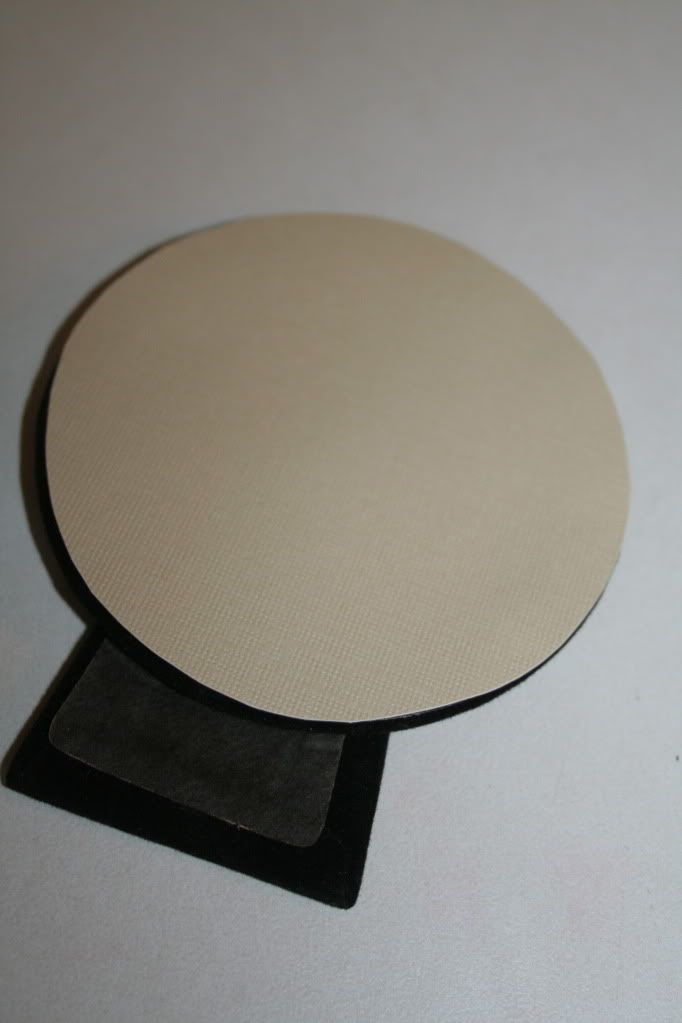
Cut a background for the frame. I used the front sheet out of the frame as a template and cut out cardstock. You could use fabric also, but with this small a frame, I knew very little of the background would actually show.
I then put on a couple pieces of scrapbook adhesive to the back and...
attached it to the inside of the back on the frame. This way when I laid the back onto the flowers, I didn't have to worry about it sliding around.
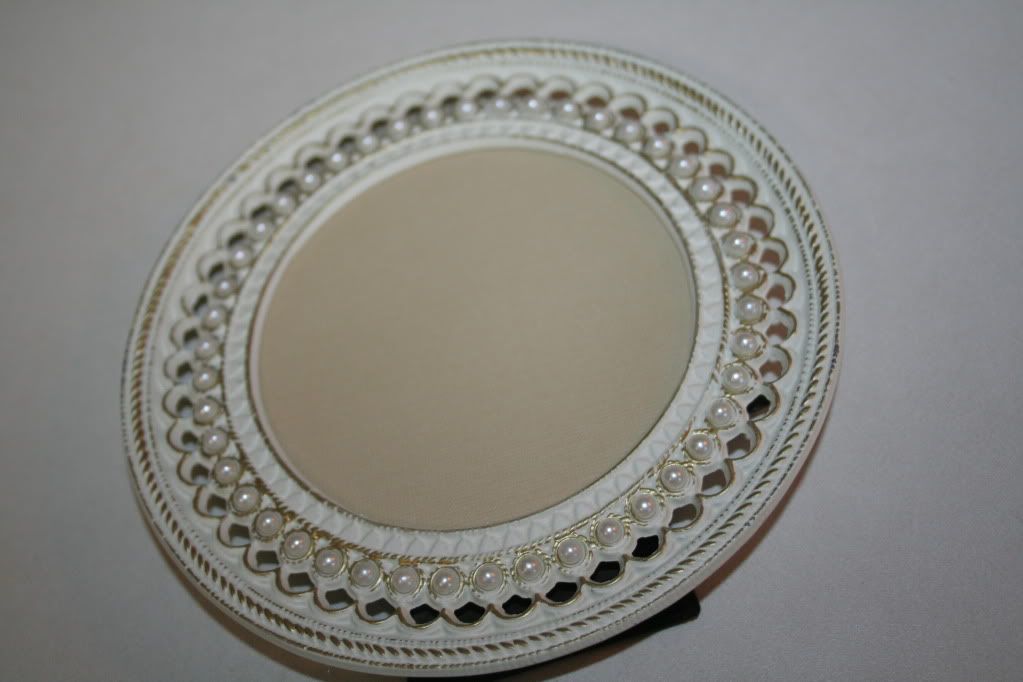
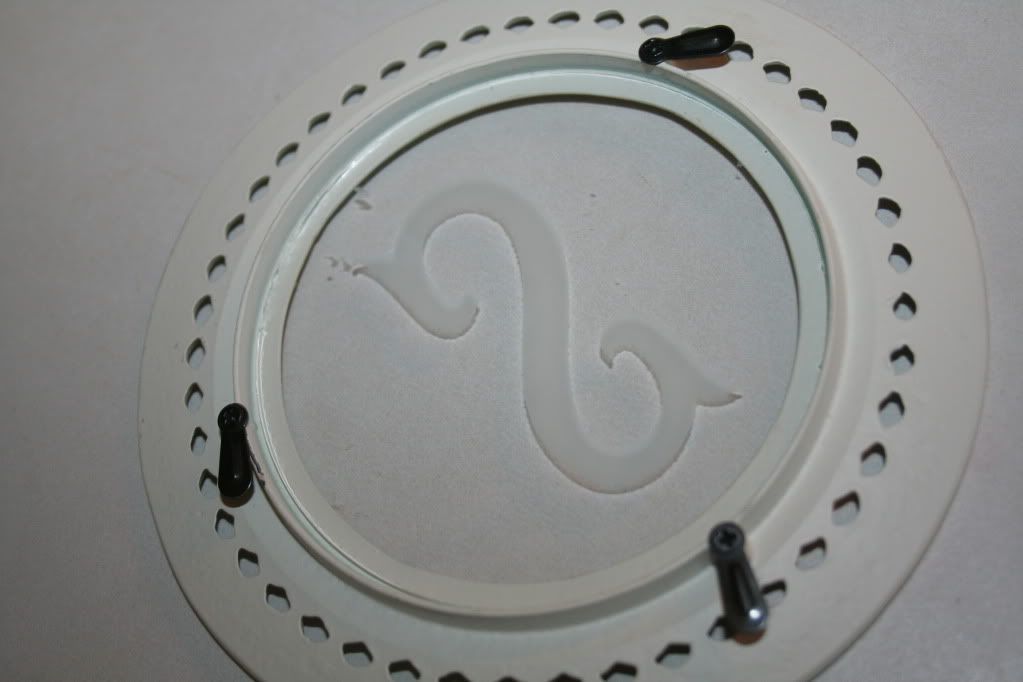
This is what it looks like in the frame without the glass or the flower.
When the time is up on the Armor Etch, clean the glass as instructed. Then remove the vinyl adhesive and clean the glass completely.
Lay the glass into the frame.
Pull the dried petals from the stem. Starting with the smallest petals, begin layering them around the glass. Remember you are working backwards, so you will want the pretty side of the petal down.
After all of the petals are laid on the glass, carefully lay the back of the frame over the petals, making sure they don't shift, and secure it.
This is the finished product:

I was able to give it to them Saturday night and it was very sweet. Their precious daughter had a short, but loving life. I hope this little gift is a reminder of her and how much her family loved her.
Blog Widget by LinkWithin