Showing posts with label Decor. Show all posts

Tuesday, October 6, 2009

Fall Decor and Monthly Craft Challange


Welcome to Fall!! I love fall! I used to say spring was my favorite, but now it has to be fall. I love the weather, the decorations and all the fun things we do in the fall.

Heidi is once again doing her Monthly Craft Challange and I thought I would double up and show both some things I've made for my fall decor and show a few other things because I've had very limited blogging time lately.

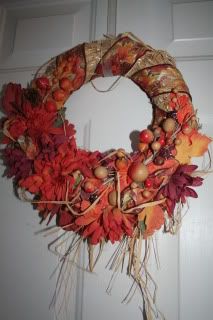
I made this wreath about 12 years ago for a college class believe it or not. For my feature writing class, I had to write a how to article. So I made the wreath providing step by step instructions and photos on how I made it. I'm pretty sure I got an A. I would post the How To, but that was before very many people had digital cameras and I'm pretty sure the pics are some where in my attic. LOL
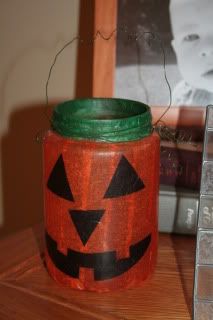
I don't know how or why, but I got this idea several years ago to make this Jack-O-Lantern. I used a pickle jar, covered it in tissue paper and used floral wire for the curlies and the handle across the top. I usually burn candles in it and it looks neat when lit. This would make a good kids craft by the way.
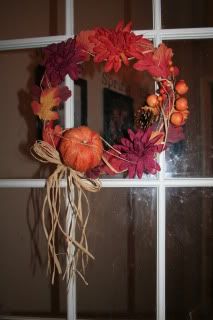
A couple years ago I made this wreath with things I had left over mostly from the other wreath and some other projects. I had some grape vine that I wound into a wreath, glued on some flowers, a little pick and the raffia bow. The only thing I bought was the little pumpkin. It's on my door coming in from the garage.
My table centerpiece. I won the three little buckets at Bunko. I filled them with brown shredded paper (like you use for gift bags/boxes). Tossed in a few gords and picks and the scarecrow. I bought some pretty fabric that is sheer with coppor colored leaves and just bunched it up under it all. I've used it now for 3 or 4 years and may change it up next year, but I still like the way it looks.
I did not make these, but had to show them. My friend Sebrena made them for me last year. The boys use them for their treat bags.
And a little bit more of my decor. I made this arrangement a long time ago and bought the Autumn sign last year on clearance at Hobby Lobby. You can see my little M&M peeking out from behind the picture. We have other Halloween M&M decorations, but I haven't had time yet to get them out.

And one of my best friends game me this little pumpkin several years ago. I think it's cute, but more than that, it reminds me of her every year when I pull it out. She moved away around 3 years ago and I miss her like crazy!

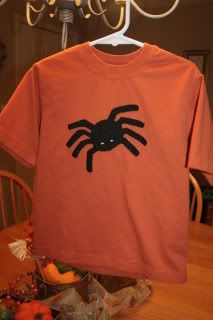
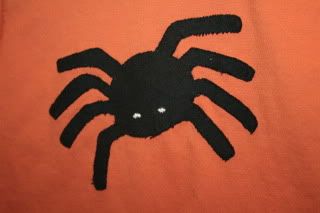
I'll have another post about my shirts later, but I wanted to show the shirt I made for my oldest son for Halloween. He loves it. I used my Cricut to cut out the spider.
Be sure to visit Blue Eyed Blessings for some great Fall/Halloween Craft Ideas!

Sunday, August 9, 2009

Bless Our Nest

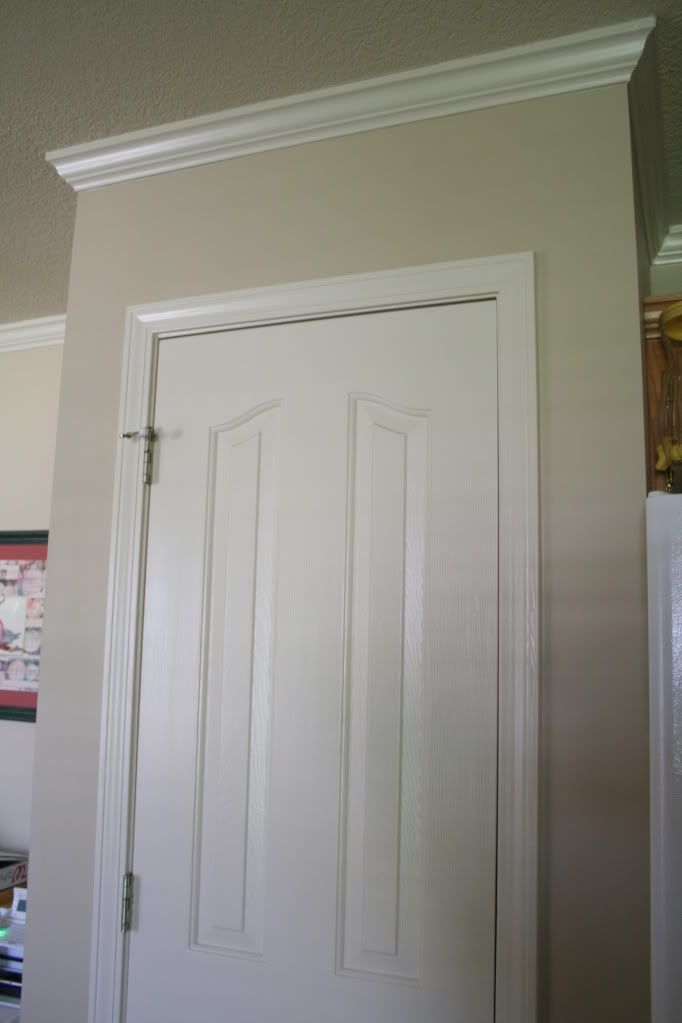
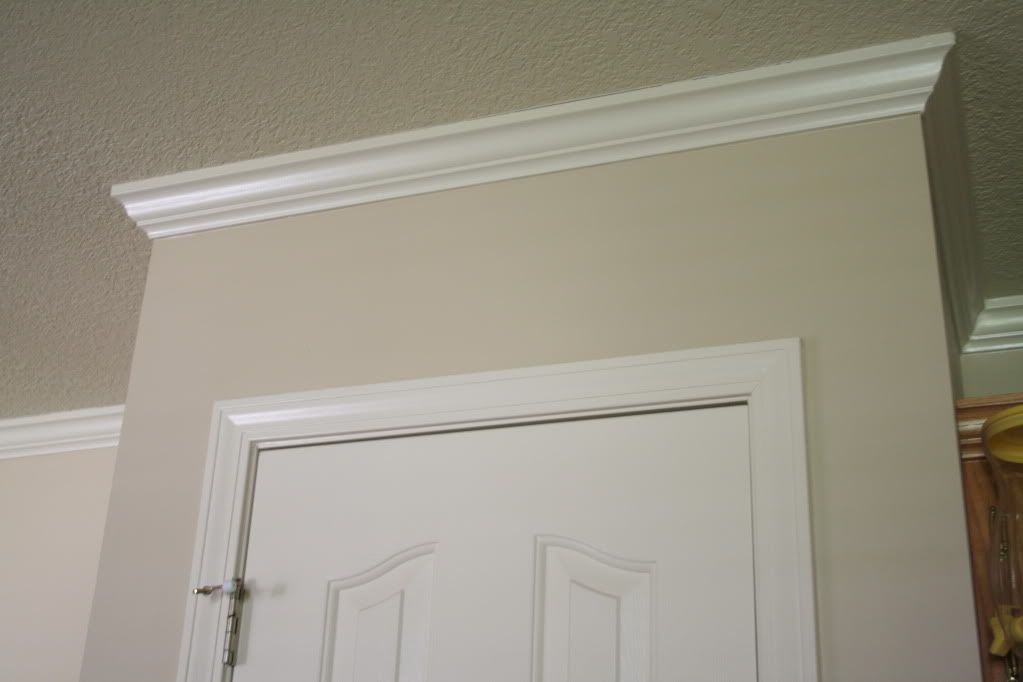
For several months, I've wanted to put wall words above my pantry door in the kitchen.

A space that juts out into the rest of the room, it seemed like the perfect blank space.

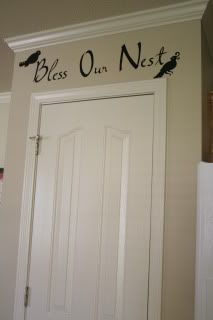
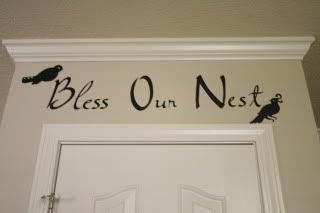
And this is what I came up with. Using black Cricut vinyl, I cut the words with the Jasmine cartridge and the birds with the Storybook cartridge.

I'm happy with how it turned out. But the great thing about Cricut vinyl is that it peels off and I can change it as soon as I want a change!

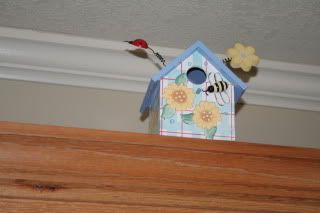
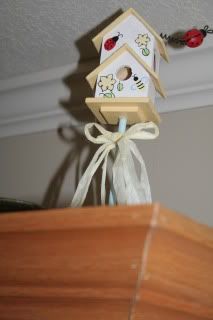
So why the words I chose? My kitchen is decorated in bird houses and a garden theme. After months of looking online and trying to decide what I wanted, the idea came to me to use the title of one of the blogs that I read from a fellow Arkansas blogger Bless Our Nest. It just seemed to fit. Here are a couple of my bird houses that sit above my kitchen cabinets.


Join Between Naps on the Porch for more Metamorphasis Monday!

Sunday, August 2, 2009

Butterflies in my Bathroom

This has been my bathroom wall for several years. I liked it, but have grown tired of the same old thing and wanted something with a bit more impact.


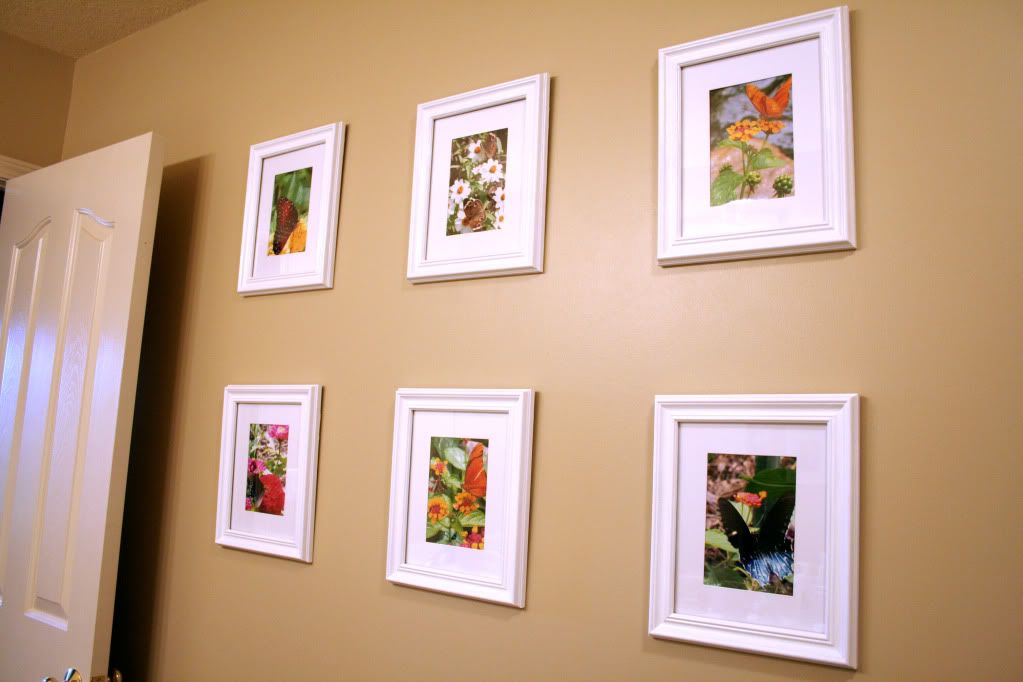
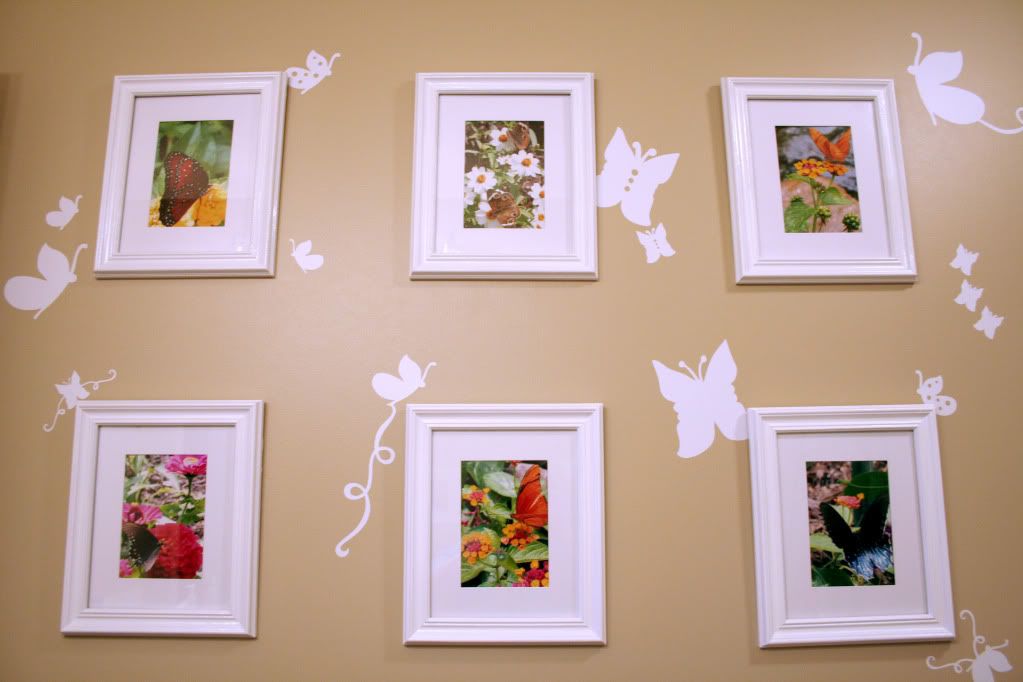
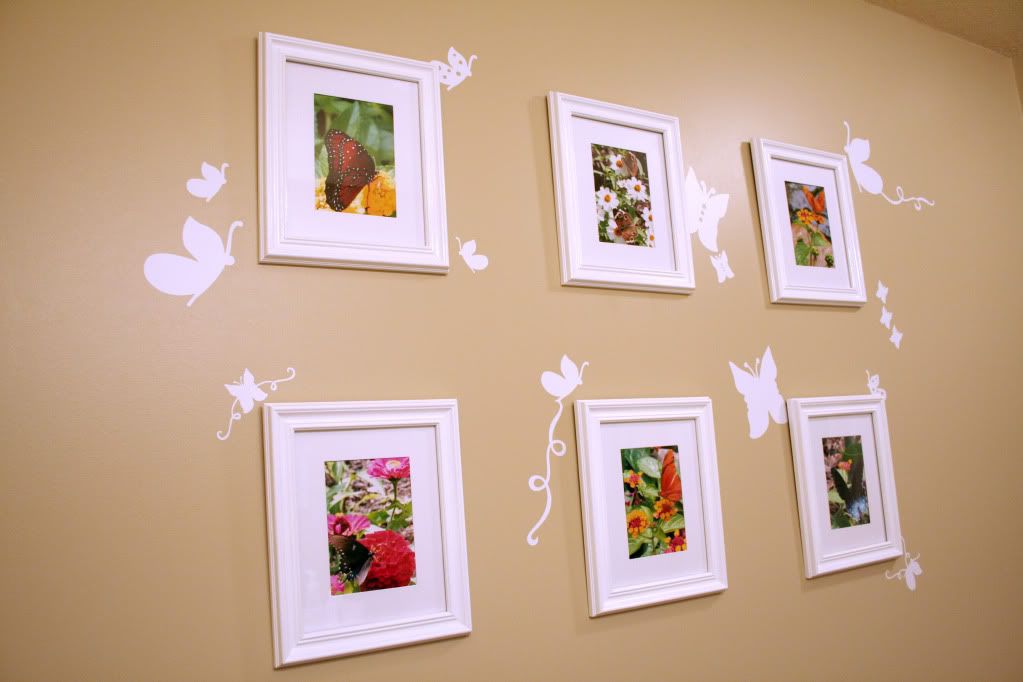
I decided to use prints of some butterflies I shot last summer. I chose to do 6 frames, 3 on top, 3 on bottom. And I like to do things cheep. I looked around for frames, but decided on $3 frames from Walmart. The only problem is, they were black, and I wanted white. So I'll just spray paint them. HaHaHa...Not so easy! I realized very quickly after a single coat of paint that this quick little project wasn't so quick and easy. I ended up brush painting all the frames with with acrylic as a primer - 3 coats! Then I spray painted them white - 3 coats! to get the gloss I wanted. A couple weeks later - I had this:

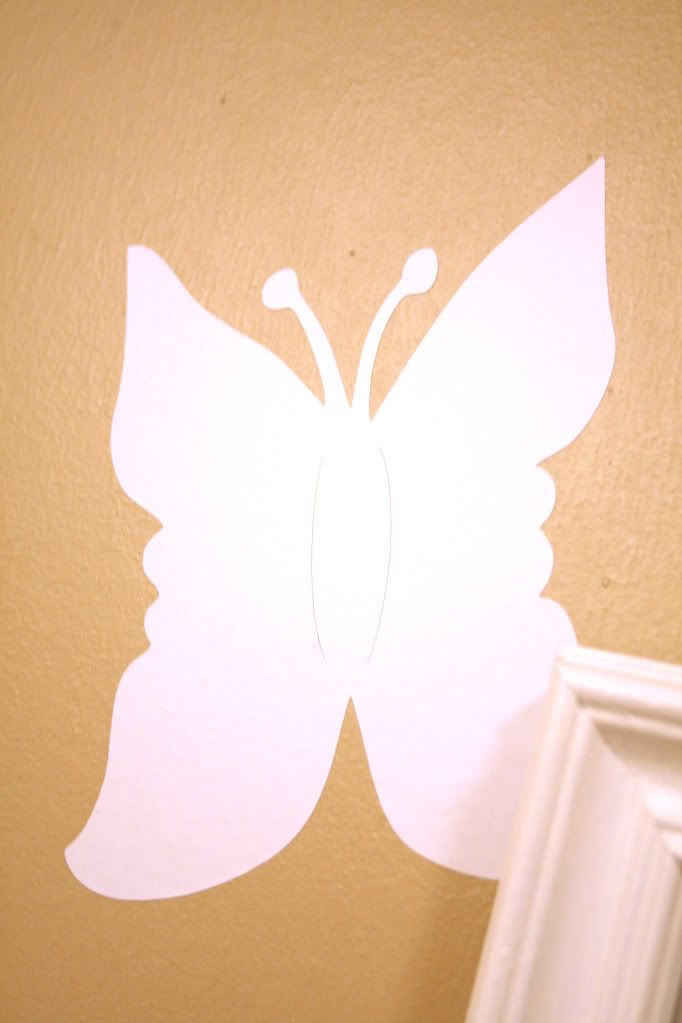
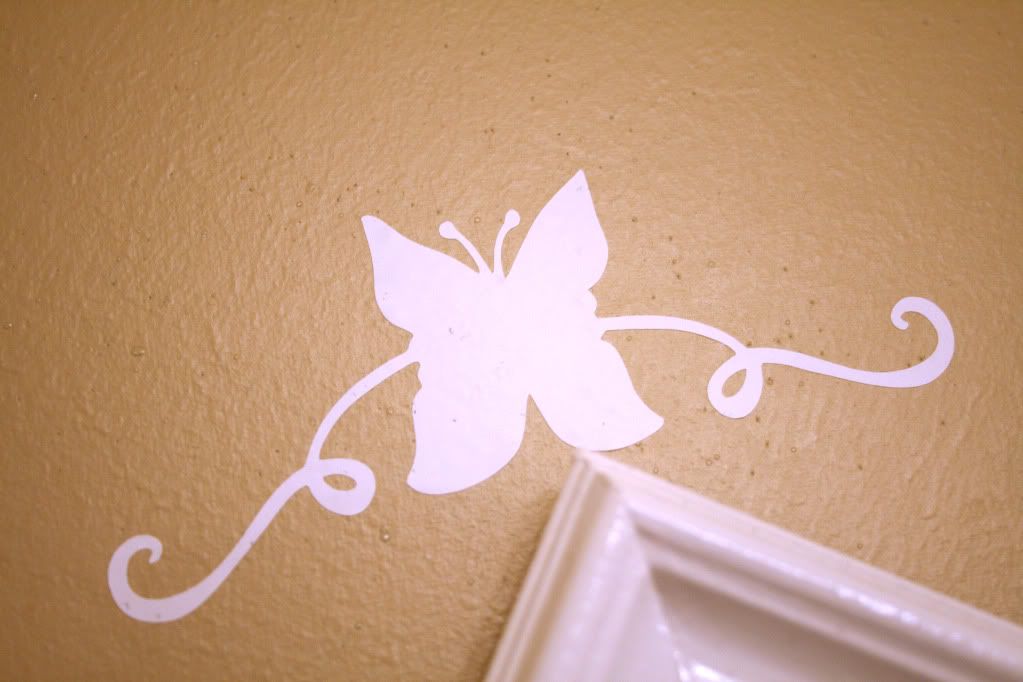
But my bigger plan was to use white vinyl and cut butterfly shapes with my Cricut to place on the wall around the frames.


I used the Storybook Cartridge and the variations on 2 cuts to get the different shapes.

And this was the result!

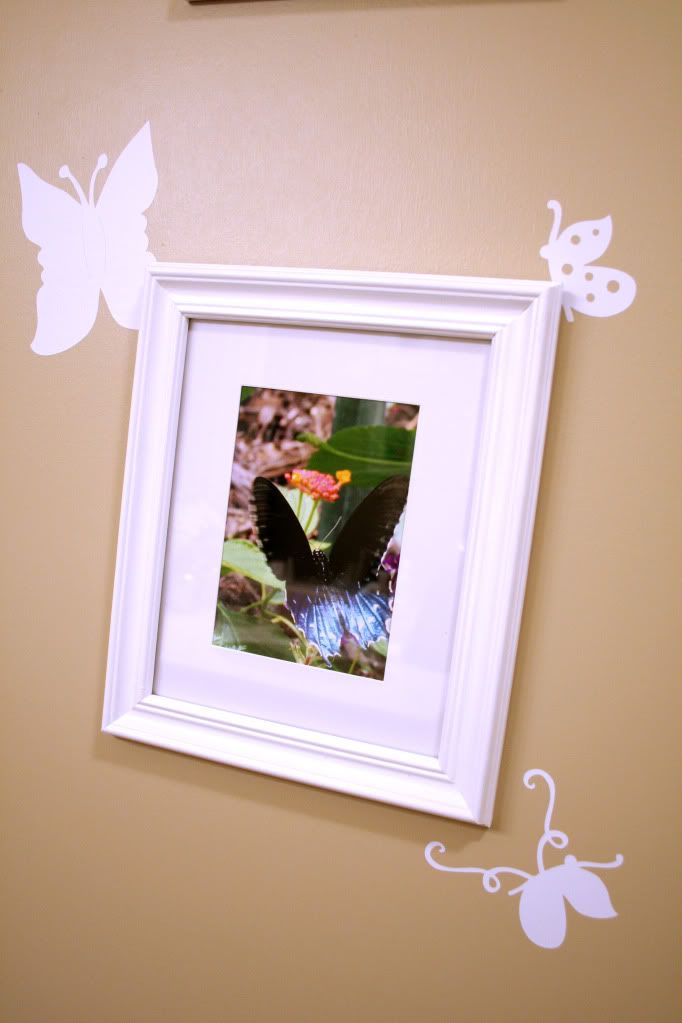
Some of the butterflies come from behind the frames...
And some just float around them.

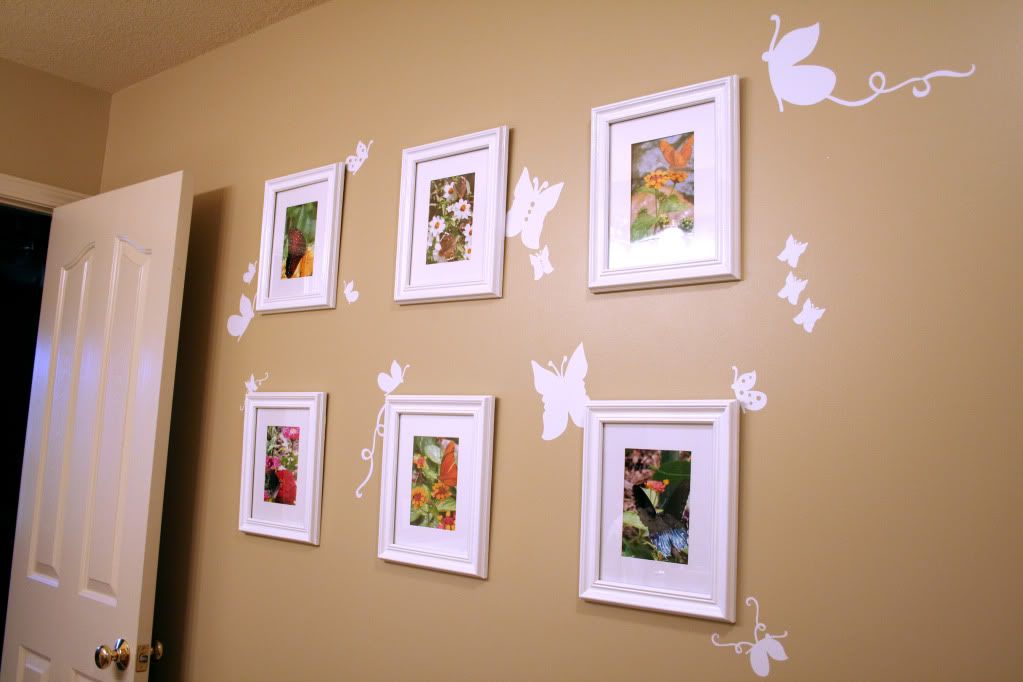
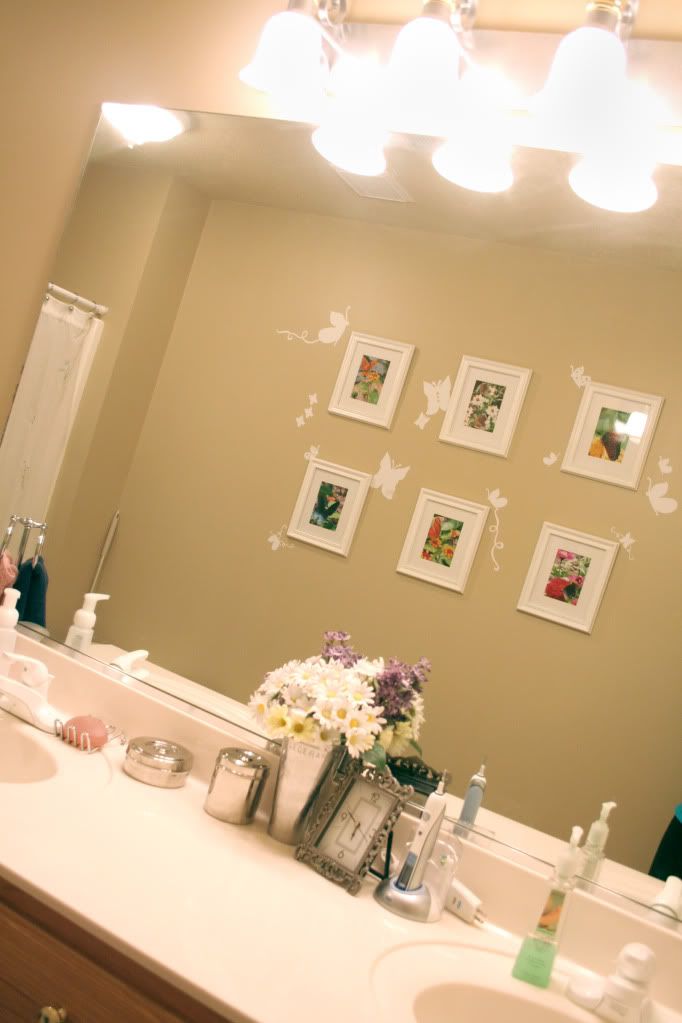
It was a bit overwhelming at first because it's such a change from before. It takes up most of the wall, but now that it's been up for a week, I'm very happy with how it turned out.


A view looking into the mirror - the way I see it most of the time!

Join Between Naps on the Porch for more Metamorphasis Monday!

Saturday, April 18, 2009

I Love My Cricut

I've had my Cricut now for about a year, but I feel like I'm just now really beginning to make use of it. I have used it a lot for scrapbooking, but it can do so many other things. I'm going through a pack of mats at least once a month because I'm using it so much. So even if you aren't a scrapbooker, I think you'll find many uses for one.
One of the Cricut products you can buy is vinyl sheets in black, white and brown. It can be used for a lot of things, but one of its main uses is cutting letters and designs to put on your wall. It is removable and very easy to work with.
I've been wanting to put something on my laundry room wall forever, but didn't know what I wanted. When I decided to do some lettering, this idea came to me. I think it turned out great and since it's also the entry from our garage doore I get to see it a lot. I will probably change the pictures as the boys grow, but for now I like it the way it is. The top cartridge is Doodletype and the bottom is Jasmine.
Then I moved on to my front door. I've always hated how plain and simple our front door is. I always keep some kind of wreth on it, but then I saw this idea on Bless Our Nest's blog and thought it looked really nice. I even thought about painting the front door black, but with all the white trim on the windows and white sidding on the eves, I thought it wouldn't go, so I kept it white and did the lettering in black. The cartridge is Jasmine.
Then I began thinking of ideas that I could put something behind our bed. While all of the other walls have something, I've never put anything above our bed and it bugs me. So I thought of using plates and a plate holder with the words "Happily Ever After." The words are actually one of the phrases available on the Storybook Cartridge. But after I found the exact colored plates I wanted at a flee market, iron horizontal plate holder at Hobby Lobby and finished the lettering on the plate, Kevin said no way. He has a thing about anything with any weight at all being above your head while you sleep, so he nixed my idea. So I returned the horizontal one to Hobby Lobby and bought the same one in vertical and hung it between my closet and bathroom doors. So above my bed is still empty, but I like the way it looks. You can see in the picture why I chose the color plates I did.
One afternoon I saw this tutorial for banners on a blog and thought it was so cute. She didn't use a Cricut, but I knew it would be super easy to do using the Cricut. You can see her banners here. I'm sure I'll be doing a lot more of these for holidays and such in the future.
Lastly, I came across some ideas for cute appreciation gifts for teachers. Again I knew it would be simple to make this with my Cricut, so I made this one night for Samuel's teacher. I figure she deserved some caffeine and chocolate!
If you haven't seen the infomercials for the Cricut, here's their website. You can buy them at Wal-Mart and Hobby Lobby. I've also been using it to cut fabric to make appiques for shirts for the boys. If you missed it, look here to see the shirts I made them for Easter: Eggs - Bunny.

Tuesday, March 31, 2009

Hopping To Easter

I've always loved to decorate for holiday's, but now that I have kids it's really a lot of fun to make the house festive and to make a big deal out of the holidays. My Easter decorating has been contained to the dinning room (except for the boy's doors), but since that room is the main focal point of our house, it makes a big impression.
I found these sparkly eggs at Hobby Lobby and added them to the arrangement I already had. They are too cute.
And I found this little momma bunny with her baby and thought it was perfect for our house.
For those of you who don't know, we are avid M&M collectors. Really - it's crazy! This is most of our Easter M&M stuff, but I didn't put it all out. The boys Easter baskets are hanging below and you can see Tyler's filled Easter Basket over to the side. Samuel's is hidden because he's old enough to know what it is and to want the things now.
This is my favorite Easter book. It's called My Easter Basket and it tells the story of Jesus resurrection with the items in your Easter Basket. I've read it at our church's Easter egg hunt the last 2 or 3 years and will read it to my Sunday School Class on Easter Sunday. I saw the book at Wal-Mart the other day if you want to check it out.
This is my dinning room chandelier and my favorite. The picture doesn't do it justice. It's very danty and pretty and for a mom of two boys, I need a little dainty in my life.

This is my centerpiece on the dinning room table. I want to add a table runner, but haven't found one yet that I like. I might make one for next year when they put Easter print fabric on cheep.
I made banners to put on the boys doors. I like what I did for Valentines so much, I may start doing this for every holiday. I used my Cricut to make Easter eggs for each of their letters. Then I laminated them with my Xyron and used brands with a ribbon threader to hang them.

Blog Widget by LinkWithin