 I took him to the scrapbook paper and let him pickout a sheet that he liked. He's two, so I actually picked 2 or 3 and then let him select from those. I then picked a solid sheet that coordinated.
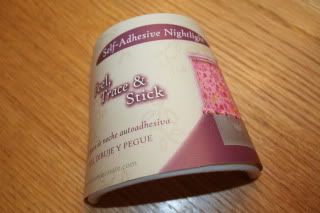
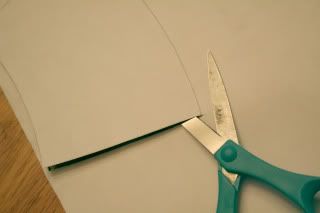
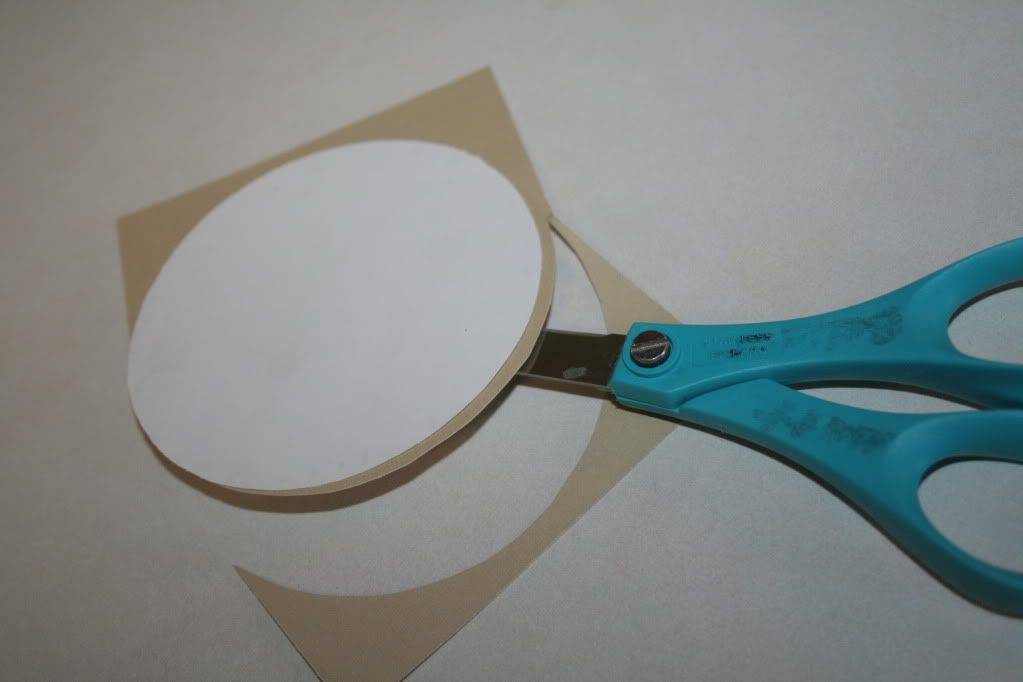
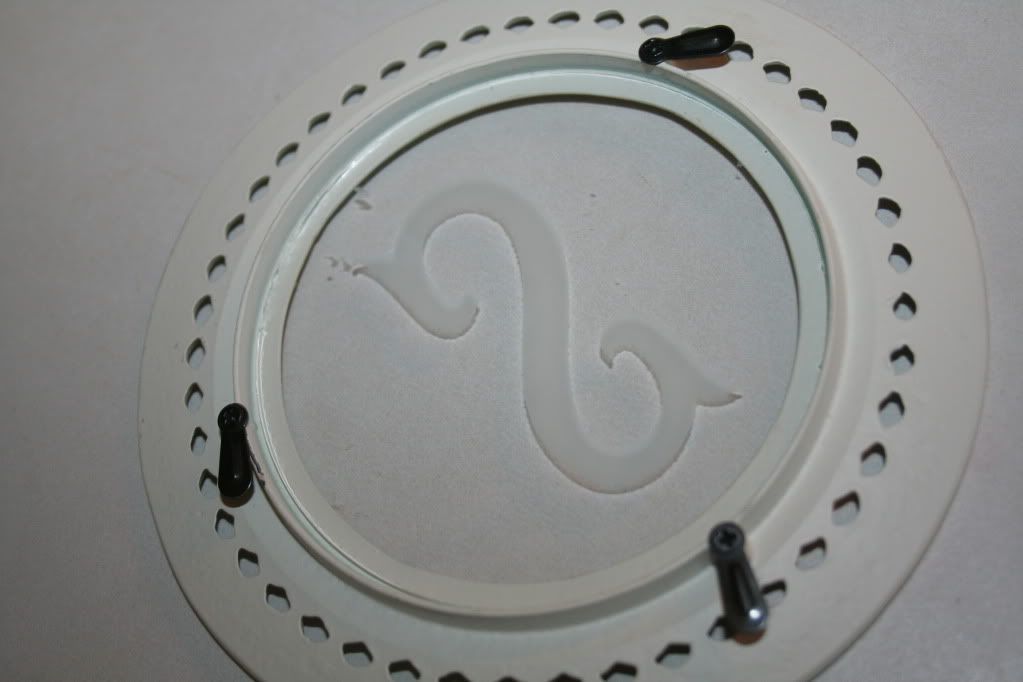
 The pull away sheet on the nightlight shade can be used as a pattern. I traced it onto a sheet of scrapbook paper and cut it out.
 The shade is self-adhesive, so I just stuck the paper right to it.
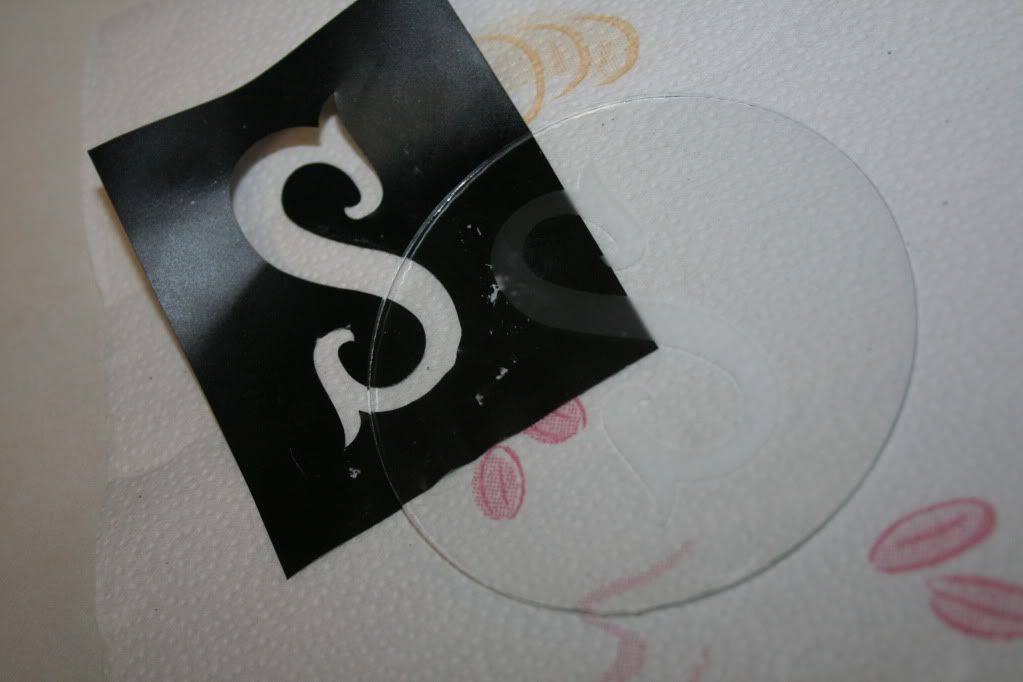
Next a cut out his initial with my Cricut on the matching solid sheet. I decopaged it on and coated the entire sheet of paper in decopage to help bond it further to the shade.

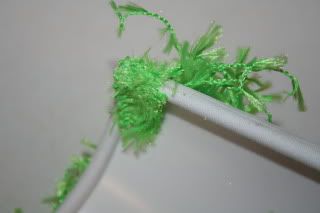
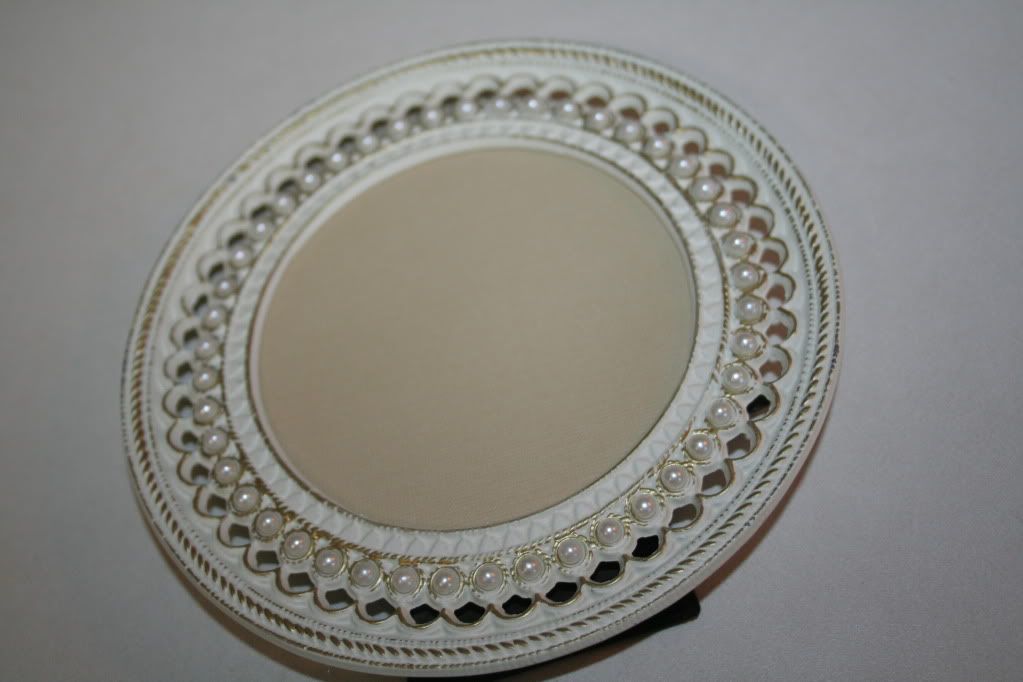
Then I glued on this fabric trim all along the top and bottom...
 wrapping it around to the back and securing it with glue to the back of the frame. I then cut away all excess hanging fibers from the trim so that none would be touching the lightbulb.
 And this is my finished product - with the lights on.
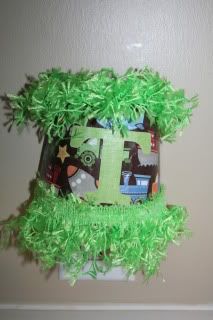 And with the lights off. He loves his new nightlight and he loves that he picked out the planes, trains and automobile paper too.
 Obviously you could also do this with fabric and monogram the fabric, but I don't have a monogram machine - and scrapbooking is more my thing, so I decided to go that route. It was also very quick. From start to finish it took less than an hour and then just time to dry. It was ready to go into his room that night.
Join Between Naps on the Porch for more Metamorphasis Monday!


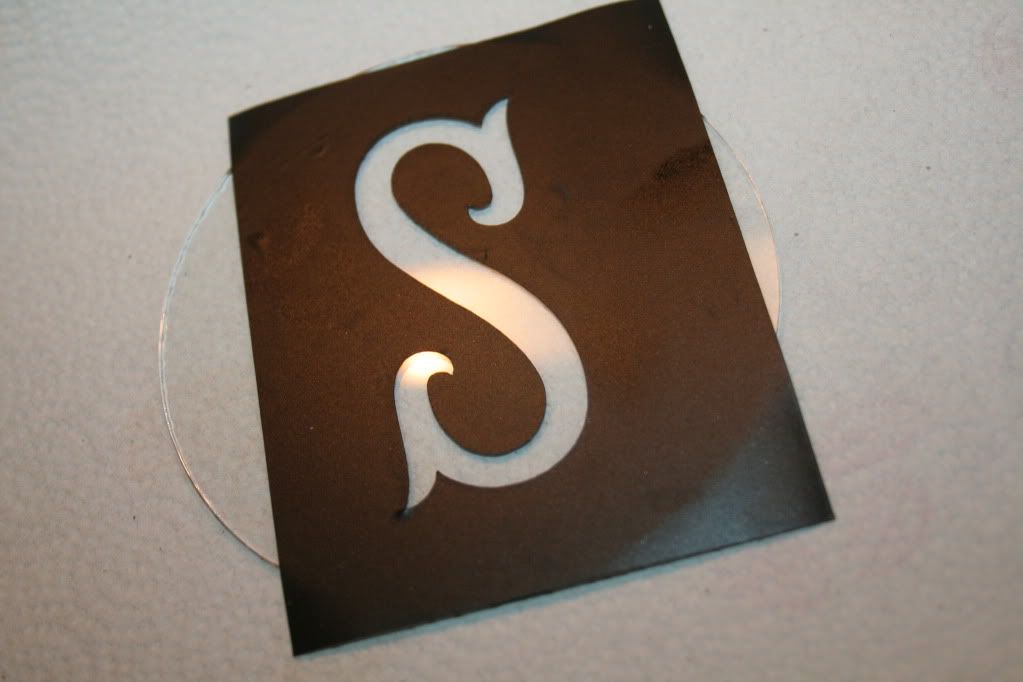
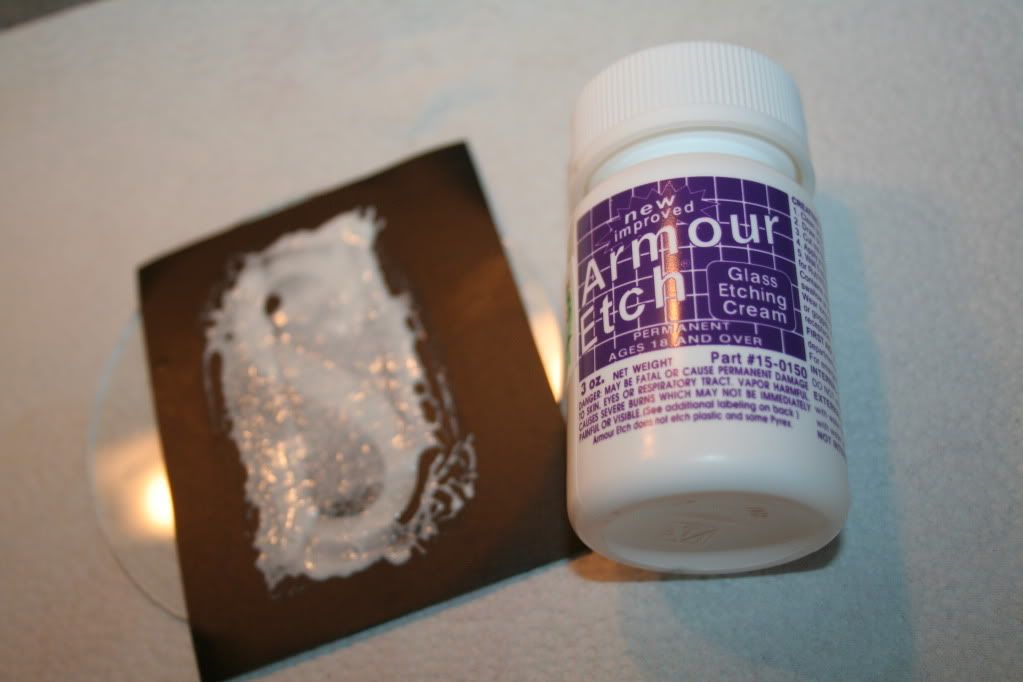
 attached it to the inside of the back on the frame. This way when I laid the back onto the flowers, I didn't have to worry about it sliding around.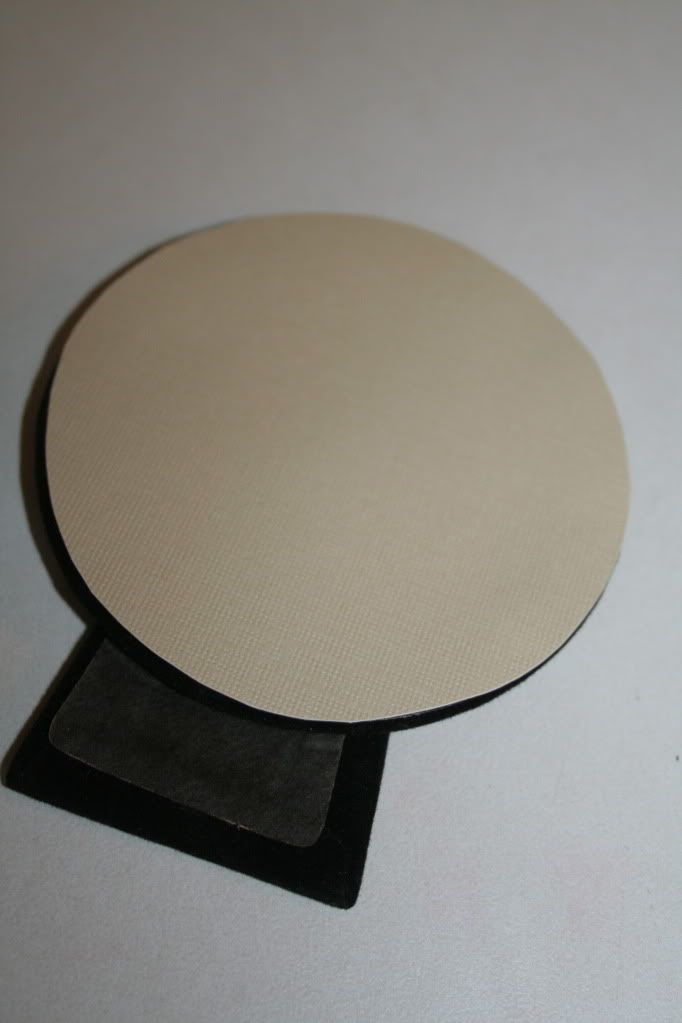
 After all of the petals are laid on the glass, carefully lay the back of the frame over the petals, making sure they don't shift, and secure it.
 This is the finished product: